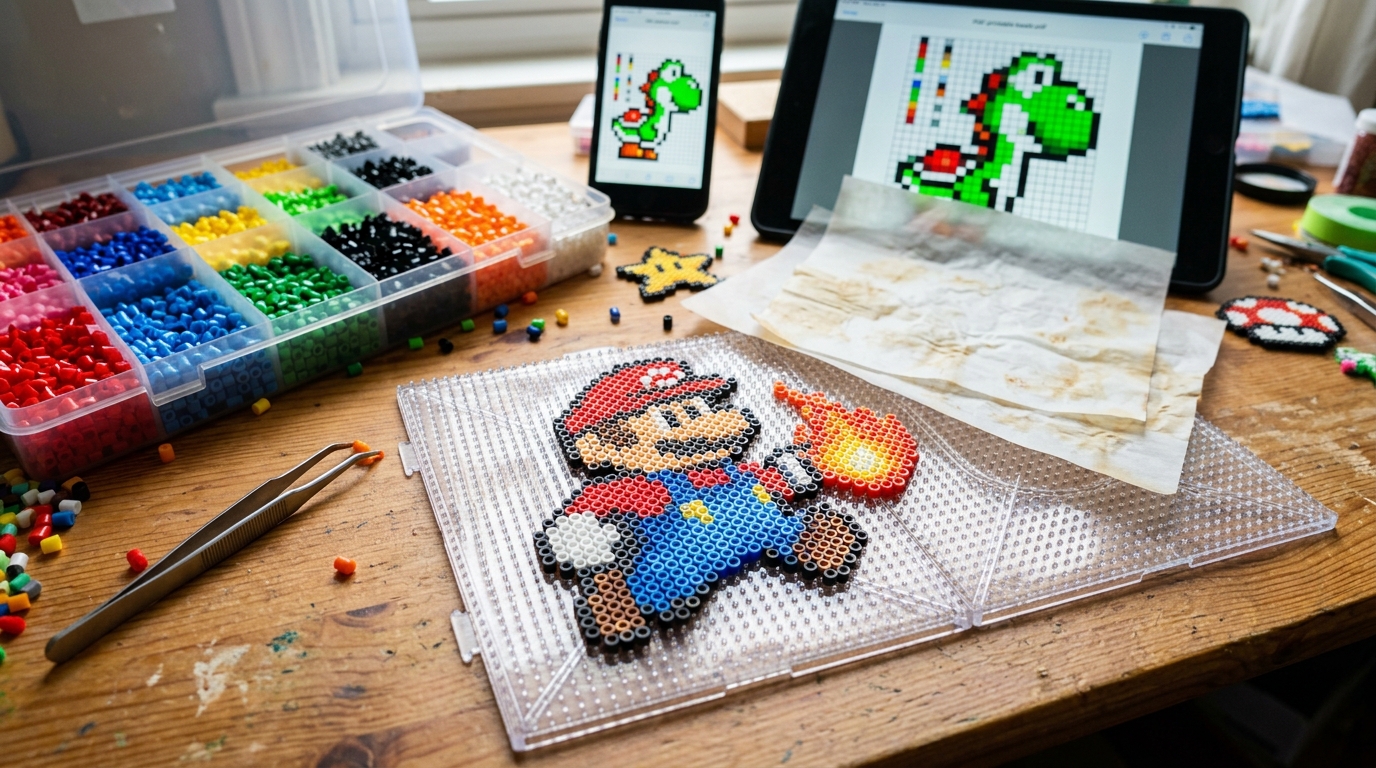
Perler beads, Hama beads, and Artkal fuse beads are experiencing an unprecedented global renaissance. Whether crafting a detailed 8-bit portrait of your dog, reproducing classic video game sprites, or building personalized gifts for conventions, turning a digital photo into a physical, melted-plastic masterpiece is one of the most satisfying creative DIY hobbies in the world.
However, if you have ever tried dragging a high-resolution photo into Photoshop or a generic image resizer, you have likely encountered disaster: muddy skin tones, missing outlines, hundreds of nonexistent colors, and no way to physically count beads onto a plastic pegboard. In this comprehensive guide, we will break down the exact mathematics, color science, and physical crafting techniques needed to convert any digital photo into a flawless, printable fuse bead pattern.
Why Traditional Image Converters Fail for Perler Beads
Digital photographs captured by modern smartphones contain upwards of 16.7 million distinct RGB colors with soft gradients, ambient shadows, and bilinear interpolation. Real-world fuse beads, on the other hand, exist in a fixed physical world with severe hardware constraints:
- Physical Palette Limits: Official Perler Bead palettes offer approximately 60 standard shades. Hama Midi offers 45. If an algorithm asks for "muted greyish-teal #527A79", you cannot buy that color at Michaels, Hobby Lobby, or Amazon.
- Rigid Pegboard Geometry: Standard pegboards do not support fractional pixels. A standard square board is exactly 29 pins wide by 29 pins high (841 pins total). If your image is downsampled to an arbitrary 40×40 or 50×50 box, you cannot align it to standard interlocking crafting plates.
- Contrast & Edge Bleed: High-resolution photos rely on microscopic contrast differences to distinguish a nose from a cheek. When downscaled to 29×29, facial features blend together into an unrecognizable blob unless specialized sprite contrast boosting is applied.
| Craft Requirement | Generic Image Downscaler | Pixelify Bead Engine |
|---|---|---|
| Color Accuracy | Arbitrary RGB (Millions of impossible shades) | 100% matched to official manufacturer codes (#P & #H) |
| Board Geometry | Random dimensions (e.g. 50×33 px) | Locked to standard physical pegboards (29×29, 14×14, 58×58) |
| Shopping List | None (Guessing from screen) | Automatic bead inventory list with exact counts per color |
| Export Format | Plain thumbnail | High-res printable pattern with 1..29 numbered rulers |
Step 1: Selecting the Right Pegboard Geometry & Sizing
Before you touch an iron or open a bead organizer, you must select the physical pegboard setup that matches your project scale:
1. Standard Single Pegboard (29×29 Pins 841 Beads)
The universal foundation of fuse bead crafting. Measuring approximately 5.7 inches (14.5 cm) on each side, the 29×29 pegboard is perfect for retro character sprites, pet faces, logos, and badges. It fits standard parchment paper sheets and can be ironed in under 60 seconds.
2. Interlocking Quad Pegboards (58×58 Pins 3,364 Beads)
Four standard 29×29 boards locked together in a 2×2 grid. This is the premier size for realistic human portraits, anime character posters, and wedding photo gifts. The quadrupled resolution allows for delicate facial features, eyes, and hair gradients that simply cannot fit on a single board.
3. Mini Pegboard (14×14 Pins 196 Beads)
Ideal for keychains, earrings, backpack clips, and quick 15-minute craft sessions with kids. Minimalist icons and simplified 8-bit hearts shine here.
Step 2: Quantizing Digital Pixels to Real-World Bead Palettes (#P Codes)
The secret to photo-to-bead conversion is Color Quantization with Perceptual Delta-E Matching. Rather than simple mathematical nearest-neighbor in RGB space (which often misinterprets skin tones as green or grey), Pixelify calculates Euclidean distances in perceptual color space to map each pixel cluster to genuine Perler and Hama color codes.
Here are the essential primary Perler codes used in 90% of portrait patterns:
#P01 White: Highlights, teeth, eye reflections, snow.#P18 Black: Sprite outlines, deep shadows, pupils, text.#P05 Red&#P59 Cherry: Lips, accents, vibrant clothing.#P60 Plum,#P57 Tan,#P70 Peach,#P80 Sand: The holy grail palette for natural skin tones and subtle portrait depth.#P12 Brown&#P10 Cheddar: Hair, irises, warm shading.
Step 3: Generating Your Printable Pattern with Coordinates
Head over to our free online Bead Pattern Maker. Drop in your photo, select your pegboard size (29×29 or 14×14), and choose your preferred brand (Perler or Hama).
The engine will instantly compute your preview, displaying cylindrical plastic beads with center donut holes. Below the canvas, you will see the Real-Time Bead Inventory Table showing you exactly how many beads of each color you will need. Click Download Printable Bead Chart to generate a high-resolution sheet complete with 1..29 horizontal and vertical coordinate rulers.
Step 4: The Masking Tape Method & Flawless Ironing Mastery
Never iron directly on your pegboard! High heat from a clothes iron will deform the plastic pegs, making your expensive board useless for future projects. Instead, master the Tape Method:
- Place Your Beads: Place all beads onto the pegboard following your printed coordinate chart.
- Apply Masking Tape: Take standard painter's masking tape (1.5" or 2" wide) and carefully lay strips across your bead design, overlapping each strip by about 1/4 inch. Smooth the tape down firmly with your fingertips.
- Poke Vent Holes: Take another clean pegboard or a pair of craft tweezers and poke a hole through the tape into every single bead. Crucial step: Vent holes prevent hot air from getting trapped during ironing, which causes unsightly bead blowouts!
- Peel & Flip: Carefully lift the tape by one corner. The beads will cling to the tape, releasing cleanly from the pegboard. Set your pegboard safely aside.
- Iron on Heat-Proof Surface: Lay your taped design bead-side-up on a wooden board or heat-resistant mat. Cover with parchment paper (never wax paper!).
- Circular Ironing: Set your dry iron to medium heat. Press lightly in slow, overlapping circular motions for 20–30 seconds. Look through the parchment paper: when the bead center holes shrink into uniform honeycombs, stop!
- Weight While Cooling: Immediately place heavy books on top of the parchment paper for 15 minutes to guarantee a perfectly flat, warp-free finish.
Step 5: Using Pixelify as Your Interactive Desk Companion
Printing paper charts is great, but paper gets lost, coffee spills happen, and keeping track of bead coordinates on a busy desk can strain your eyes.
Upgrade to the Pixelify Android App (Free)
Turn your Android phone or tablet into an interactive crafting companion:
- Tap-to-Mark Mode: Tap any bead on screen as you place it on your physical board. Marked beads turn semi-transparent so you never lose your spot.
- Color Isolation: Tap a color in your inventory to highlight only those beads on the grid, dimming all other colors.
- 58×58 Quad Boards: Export massive four-board interlocking portraits with DMC embroidery cross-matching.
Frequently Asked Questions (FAQ)
What is the standard size of a Perler bead pegboard?
The universal standard square Perler bead pegboard is 29×29 pegs, holding up to 841 beads. Most large projects connect multiple interlocking 29×29 boards to form 58×58 (3,364 beads) or 87×87 displays.
How do I know which Perler bead color codes to buy?
Pixelify automatically maps every pixel in your photo to official manufacturer color codes (such as #P18 Black, #P01 White, #P05 Red, #P10 Cheddar). The printable chart includes an inventory table with exact piece counts for your shopping list.
Why should I use the masking tape method instead of ironing on the board?
Ironing directly on your plastic pegboard will inevitably warp the pins due to heat transfer, ruining the board forever. The tape method allows you to tape the bead design, poke holes, lift it off the board, and iron safely on a heat-resistant surface.
Can I convert Hama and Artkal beads with this tool?
Yes! In the Bead Studio converter, switch the official palette dropdown from Perler (#P) to Hama Midi (#H) to match European Hama bead stock.
What iron temperature should I use for Perler beads?
Set your household dry iron (steam turned OFF) to medium heat (wool or cotton setting depending on iron wattage). Move in slow, steady circular motions for 15–25 seconds until the bead holes partially close into a smooth honeycomb.
How do I prevent my melted bead project from curling as it cools?
Immediately after ironing both sides, place your hot design on a flat tabletop, lay a piece of parchment paper over it, and set heavy hardcover books on top until it completely cools (about 15 minutes).